Wednesday 30 December 2015

10 New year resolutions for creative folks.


I love the idea that in the new year you can start a fresh, do all the things you wanted to do the year before but life got in the way. Well I'm going to try to make time for new things next year, things that can inspire my creativity! I've tried to keep the list to simple things that we can all do that will help our creativity flow...


  • Keep a journal or sketchbook. I know alot of people will find it difficult to know what to put in them but there's plenty of inspiration on Pinterest, (you can check out my inspiration board here) or you can buy journal prompt books like 'wreck this journal' by Keri Smith.  

  • Read more creative blogs. My current favourite creative blogs are A beautiful MessLets do something crafty and Make it your own. In 2016 I'd like to find more inspiring blogs! 
  • Go see more art. If you take the time to do a little research you can probably find loads of art in your local area. Last year I didn't take enough advantage of the Artist Open Houses, but next year I plan to see more, its free and you probably get to meet and chat to the artist. 
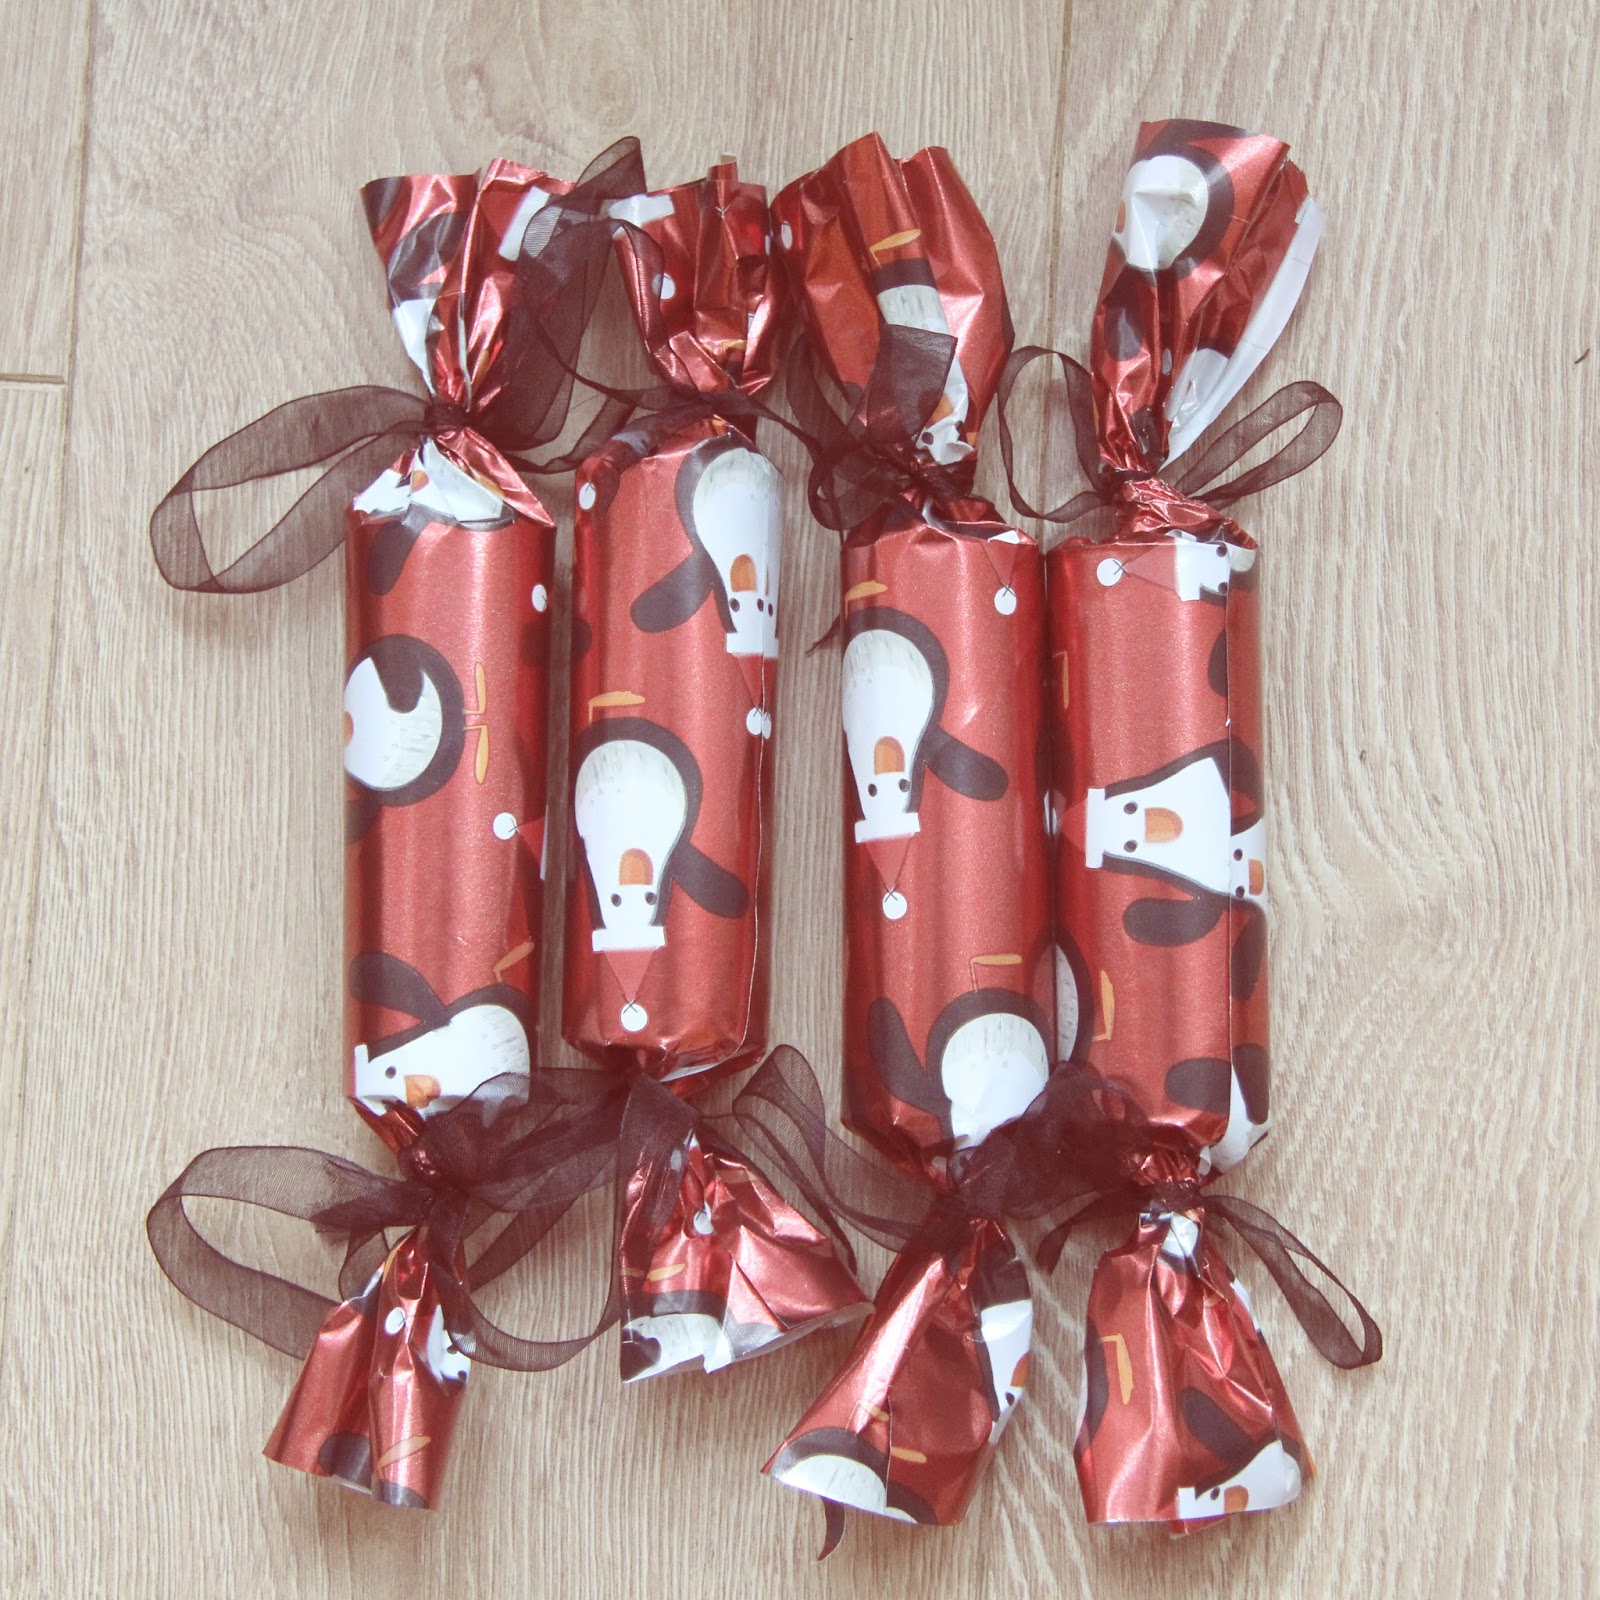
  • Try more crafts. This is were following the creative blogs comes in handy. This year the new crafts I tried were, making tree decorations, making christmas crackers and biscuit decorating. There's so many things to try, and even if it doesn't work how you planned, at least you tired and you can always improve!
  • Network with other artists/ creative folk. 
  • Go explore! Take a long walk somewhere new, let yourself get lost, who knows what you may find. 
    This is the downs where me and my dog, alfie, like to explore!
  • Make a collage for new projects. Find images, quotes, adverts, anything that inspires your new project and make a collage! 
  • Take more photos. (and no I don't mean just selfies) 
  • Write a letter. Don't use facebook chat, or text, pick up and pen and paper and write a letter. There are charities that encourage you to write to people, for example, www.postpals.co.uk where you can write a letter to a sick child. 
  • Try out creativity booster games. These games are designed to get your brain thinking in ways, to come up with ideas you may have never thought of. Here is a website to trycreativitygames.net

So there we have it, 10 new years resolutions for creative folks!
Hope you all have a wonderful new year and don't forget to check this blog for new posts every week!

Becky x

Wednesday 16 December 2015

DIY: Christmas crackers.


Christmas is my favourite time to get crafty because there are so many different things to try! Christmas crackers are a classic around our dinner table when having the roast. The photos won't be the same without us wearing those paper crowns. So I gave it ago myself, heres how I did it...

You'll need:
  • A selection of small gifts 
  • Cracker snaps, which you can buy very cheaply in craft stores or online
  • Cardboard toilet rolls (start saving them early!)
  • Wrapping paper of your choice. 
  • Double sided tape 
  • Ribbon
  • Scissors 
  • A selection of cheesey christmas jokes. 
So lets get started!

1. I started by getting everything ready for the inside of the crackers. I did this by buying little things that I could fill the crackers with. I then printed some cheesey jokes and made a paper crown. Check out this tutorial video on how to make your own paper hat, or buy some of amazon.

Individually wrapped sweets are great to fill the crackers with.

2. Once everything is ready, stuff the cracker with the joke, hat and present and the cracker snaps. 


3. Cut out a long strip of your chosen wrapping paper and stick some double sided tape to the toilet roll. 


4. Roll the tube onto the wrapping paper then attach with more double sided tape. 

5. Twist the ends like a sweet wrapper and tie it with some ribbon. 


DONE! 


(Surprisingly easy right?)


Monday 14 December 2015

Christmas gifts for photography lovers!


We are a nation of photography lovers, and for those you know, here are some affordable ideas to get them the perfect presents...


Selfie Stick. Most people are guilty of the occasional selfie, but we all know that one person who LOVES to snap themselves wherever they are..and this is the perfect gift for them! The selfie stick is great for helping you get more of the background or more people into the frame. Varies in price but can start from as little as £5!
Lens Mug!Fun present for any photographer - I got one of these from my friend for xmas a few years ago!  From £6.50

Spirit level camera attachment.This is great for landscape photographers so they don't get wonky horizons! Prices roughly £5.
Gorillapod.This is not your usual tripod, its super flexible, and can cling on to almost anywhere! Lightweight as well, its perfect for the traveling photographer. From £15.00 
Build your own camera kit!How amazing would it be to say you made the camera that took your photos?
Roughly £20
Digital photo frame. One have just one photo on show when you can show all of them!
Prices from £30
Photography Challenge pack.This is super cool idea and as far as I know, its only available on Notonthehighstreet.com
Click here for the link. Only £9.99
Concrete camera vase.Another one thats availble on Not on the High street.com. This is a unique and really cool present for a photographer who likes getting flowers. Take a look at it here

Iphone camera fish eye / macro lens. Great for people who use their Iphone camera alot! Prices vary but cheapest I found on amazon was £2.99!

Instax mini 8.This camera is perfect for people who like polaroids. Its compact, light, comes in a range of colours and prints cute wallet size prints. Prices from £85.00 Available on ebay or Amazon.

Other ideas:
  • A photobook of their work 
  • Camera case /Lens case
  • A photography workshop experience 
  • Jewellery shaped like cameras. 
  • Funky patterned camera straps. 
  • Lonely planet's 'best ever photography tips' book


Monday 30 November 2015

Photographing in low light - Tips and tricks...


Low light can be a real annoyance to photographers, especially when flash isn't an option. I've compiled a list of tips and tricks to help you out during a shoot with low light. As well as this i've also added  little section on how to fix bad lighting in post production on photoshop!

So let's start with when you're actually shooting...

  • Up the ISO. ISO is a setting on your digital camera which will help you control the brightness of your photos. I won't go into too much detail as it can get confusing but all you need to remember is the higher the iso number (for example 800)  the more light is allowed in BUT the photo will have more noise or grain the higher you get. For example ISO 100 won't be as grainy as 800. 
  • Use a lower shutter speed. The slower the shutter speed, the more light will get to the sensor. Be aware that a slow shutter will capture more movement blur. Using a tripod will stop any camera shake from your hand. A lower shutter speed can be great for evening or nighttime landscapes

An example of a slow shutter capturing the movement of the car lights. Photo by oneviewphotography

  • Use a shallow aperture. Just like the shutter speed, aperture controls the light being let into the sensor but it also controls the depth of field. For more information on shutter and aperture please see my other blog post here. Using a shallow aperture such as F 2.8 can not only let in more light but also look great! 
an example of a shallow depth of field. 
Heres an example of using bounce flash..
  • Use a flash gun. Sometimes using flash isn't possible, for example during certain gigs or wedding ceremonies. However a add on flash (aka not the pop up flash on your camera) can create great lighting when used correctly. There are different ways to use a flashgun, creating different effects but my personal favourite is a bounce flash. This is when you point the flash gun to the ceiling so that the light it the ceiling and creates a more natural light in the photo. Do some research and have a play around with your flashgun before using it on a client shoot! 

Fixing it in photoshop

Sometimes photos will come out dark, even if you try all the techniques above so that's where the power of photoshop comes in. Here is a few simple ways to get a better exposed photo in photoshop.

Use levels. To find the levels setting go to Image > adjustments > levels OR ctrl + L
Using the sliders in the box you can control how light/dark you want your image.

Another way to change the exposure of the image is to use Brightness/contrast. You can find this by going to image> adjustments> brightness/contrast.

Hope this is useful! Thanks for reading and don't forget to check back weekly for new tutorials and photographs!

Becky x

Wednesday 25 November 2015

DIY animal toy christmas decorations - Easy!


This year I told myself I would try out some new christmas crafts and write more diy and tutorial blog posts, so here is my first festive tutorial!

I originally brought these plastic toy animals online for a different DIY but I stupidly didn't look at the size and they are way too small for what I intended. But thanks to the wonder of the internet, I got
some inspiration to make them into christmas tree decorations.

All you'll need is:


  • toy plastic animals or dinosaurs
  • Jewellery eye hook 
  • a little bit of superglue
  • Nail varnish (colours of your choice!)
  • Ribbon or string. 

I brought a pack of 12 wild animal toys of Ebay for £2! 
I added a hook into the animal using a small drill, but the plastic was fairly easy to puncture so I reckon you could do it with some elbow grease and a pin. Before I put the hook in I dipped it into superglue to ensure it would stay. 


I decided I wanted some of the animals gold, so I just used this Barry M nail varnish to coat them. There are loads of different patterns and colours you could try!


You could try two tones...

or glitter or polka dots! 

Once the animals are dry all you need to do it tie string or ribbon through the hook and whey, you're done!

They'll be more christmas DIY tutorials coming soon! 

x


Tuesday 3 November 2015

Pop up shop - 'WE ARE' 9th-15th Nov


I've always loved the idea of a pop up shop! Its such a great way to sell handmade goods, without the commitment of a long term lease. I ran one just over a year ago.  I'd asked a few friends if they wanted to exhibit some work as it was a large space and I didn't think I could fill it on my own.

I wouldn't say that it was a total success, but I know where I went wrong and what changes I'll make for next time.

So recently I heard about a community project called 'Somewhere to _' which helps 16-25 years olds get a creative space for whatever their medium is (I've put the contact info below). I contacted them about a pop up shop they were offering people, and a few weeks later I had to pitch my idea to them and the shop owners. Needless to say I was bricking it! But fortunately I was offered to share a pop up shop with Monster Pie Inclusive Arts, a scope associated art group.

 We have the shop called 'It is what it is' for a week starting the 9th Nov. Each day we're planning a free workshop as well as being open to customers.

Here are some things I've made to sell...


Handmade necklace using one of my photographs


As well as my photography I'll be selling my jewellery too.


All the items sold in the shop will be handmade and include works from the below artists

- Lisa Buttery - Illustration
- Anna Dunne  - Handmade bags and purses
-Artists from Monster Pie Inclusive Arts

On friday the 13th of Nov I'll be running a photo up photobooth with polaroid pics! Here I am testing out the props I made!

So if you're around Brighton between the 9th -15th of Nov pop by @
'It is what it is' 102 Gloucester Rd, brighton lanes.
we'll be open 10am-6pm Tuesday-saturday
and 11am-5pm Sunday

For more information please see our facebook event: https://www.facebook.com/events/460609517456693/

Somewhere to_ info:
https://somewhereto.com


Wednesday 7 October 2015

Making earrings with a glue gun!


I simply love making jewellery, and last week I took a trip to my favourite shop, Hobbycraft! Of course I probably spent a little too much, but I did get quite a few pieces for my jewellery making, which I see as an investment! ;)

I watched a few youtube tutorials on how to make charms using a glue gun, it was difficult at first but once you get the hang of it, it's an easy way to make some lovely earrings! 


The glue gun was from Hobbycraft (£5 I think) and the glue sticks were £1 from Tiger (bargain!)
Glue guns are so useful if you're a keen crafter,  and if you can even get different coloured glue sticks! 

For the most recent earrings I've made, I've been using a silicone mould by Gedeo, which I bought from Hobbycraft. It comes with small moulds of hearts, circles and squares, and they're the perfect size for earrings. The larger moulds are great for necklace pendants. 

Once your glue gun is heated up, just squeeze some glue into which ever mould you fancy. Leave it to dry for a few mins and then it should easierly pop out of the mould. Trim around any excess glue and now you're ready to decorate /colour! 
To colour the earrings I use a few coats of nail varnish, and then a clear one to add an extra shine!
Once coloured I use super glue to attach the earring backs to the charm I've made. 
Red rose stud earrings.


Other ideas:


While the glue is still wet in the mould, add a small nail art design, these are some little fruit ones I found. They were from the pound shop but are available online. Make sure you push the fruit down so it's visible through the glue.

  
Here are some sweet little strawberry earrings I made. 
Use glitter to add some sparkle to your earrings! This can be done by using glitter nail varnish or by adding glitter while the glue is still wet.

Use vintage pictures of flowers! Push them into the glue while it's still wet. (Make sure the flowers are the same size/shape!) 
Thanks for checking this tutorial out! Keep up to date with me via my instagram @beckynetleyphotography